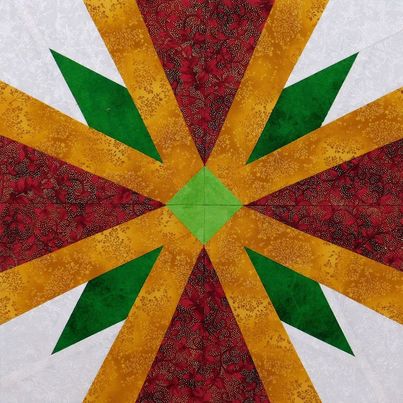
Block # 1412 Mock Maltese Cross
Hello Quilting friends! Welcome to my blog for the Quiltmaker Road Rally! Here's my block, Mock Maltese Cross. I’m very excited to have a block featured in Volume 15 of Quiltmakers 100 Block Challenge!
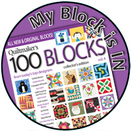
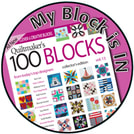
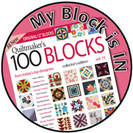
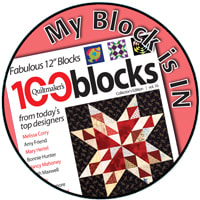
I'm super excited this time because my block is on the cover! You can see it to the left of the list of names, at the very top. To celebrate I will be giving away a copy of the issue. I'll also be giving away a second copy courtesy of the folks at Quiltmaker. I hope you're as excited as I am. Please read to the end to find out how you can get your copy. This offer ended midnight Sunday, May 7.
Congratulations to our winners Luiza G. from Brazil & Terri N. from Iowa, USA.

The folks at Quiltmaker will be featuring different blocks each day. They will also have some great daily prizes and a grand prize drawing at the end of the tour. Click here to visit their Quilty Pleasures blog and learn more.
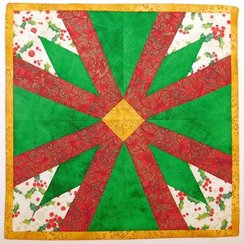
I want to share the story of my block with you. I belong to a quilt guild called the Connecticut Piecemakers and every year we have a pot holder exchange at our Christmas holiday luncheon. We make either a holiday themed pot holder or one themed for everyday use. I chose to make a holiday pot holder. When I started to think about a design I thought of poinsettias.
I want to share the story of my block with you. I belong to a quilt guild called the Connecticut Piecemakers and every year we have a pot holder exchange at our Christmas holiday luncheon. We make either a holiday themed pot holder or one themed for everyday use. I chose to make a holiday pot holder. When I started to think about a design I thought of poinsettias.
 |  |
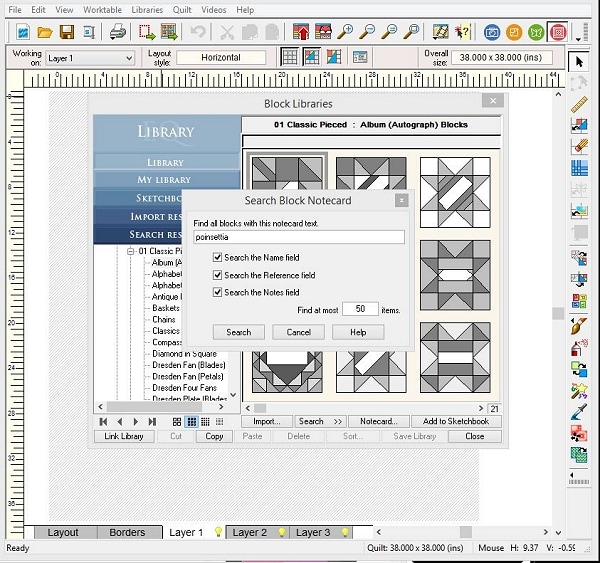
I began by doing a block search for a poinsettia block in my Electric Quilt software (EQ). I found ten choices in my search. The one I chose comes from the Block Base software I purchased from Electric Quilt Company. The block reminded me of Iron cross. The only problem was I was not about to attempt to piece it with a square in the middle as it was shown. No way! I haven't got that kind of patience. I figured I could find an easier way to do it. I really like foundation piecing because of the accuracy that can be achieved. So I altered to the block to suit my needs.

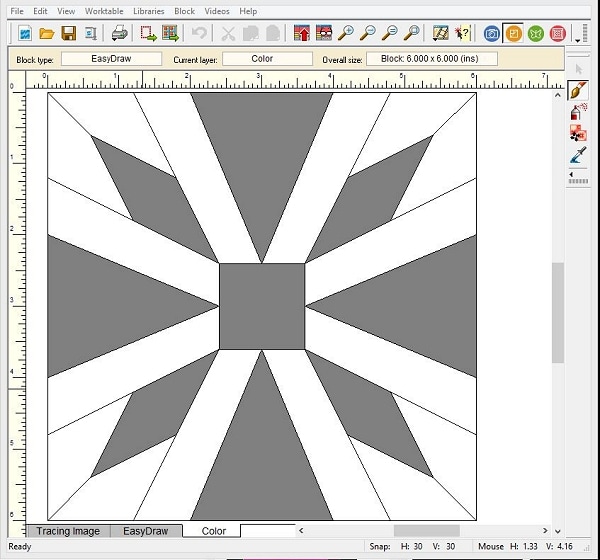
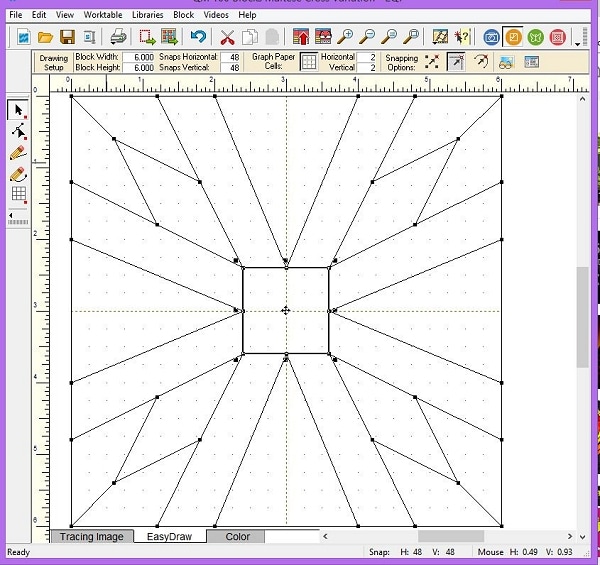
To convert the block I started by setting up my worktable drawing set up with a block size of 6 inches and 48 snap points. I then set the grid to 2 blocks horizontal and vertical. For Snapping Options, I made sure that the “snap to grid points on worktable” button and the “snap to nodes off drawing” button were on.
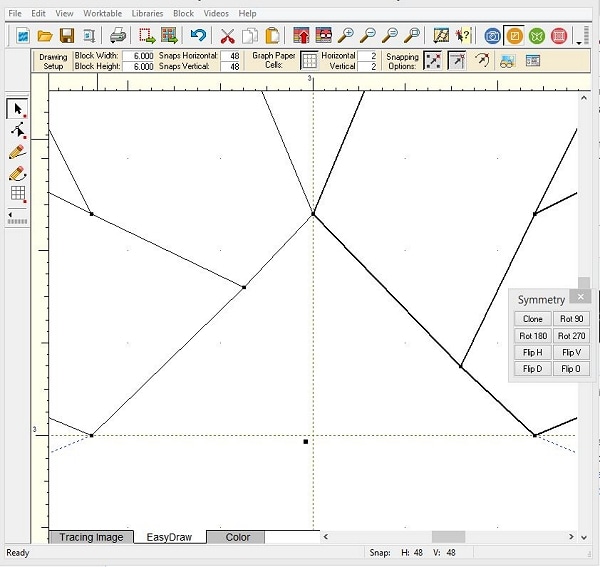
I selected the block for editing and then clicked the “Easy Draw” tab to edit the block. I then deleted the square in the middle that I didn’t like. I’m only going to work with one quarter of the block so I converted the rest of the lines into guides. Next I converted two of the lines in the point to guides.
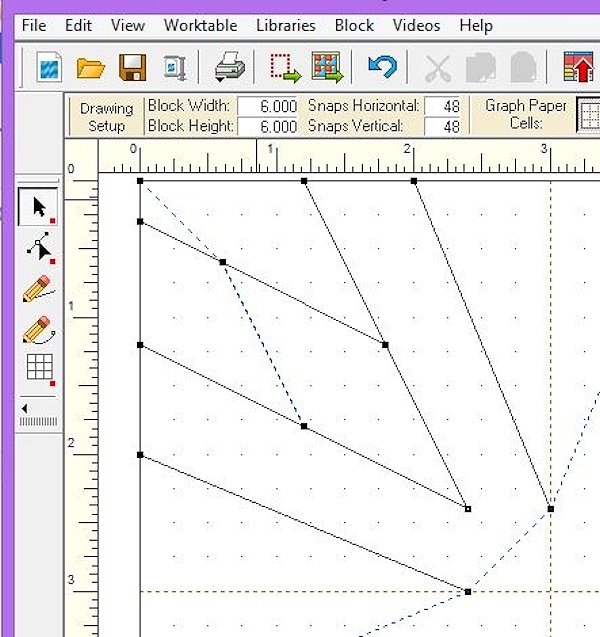
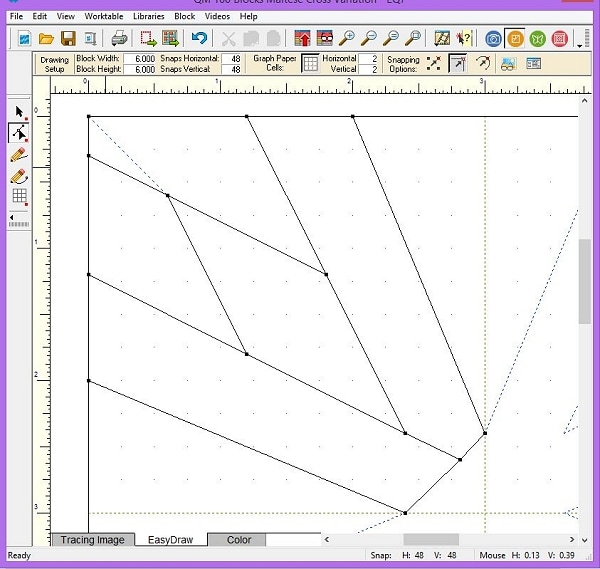
I then used the “shape” tool to extend the remaining line to the edge of the block while trying to maintain the same angle as the original point. To do this turn off the “snap to grid points on worktable” button. The reason I did this is because I needed the pattern to be compatible to foundation piecing.
Next I connected the nodes with a line to create the other side of the point. I also added a diagonal line across the points where the square used to be. I then used the “shape” tool to stretch one of the lines on the point heading towards the center. This was also done to facilitate foundation piecing.
I selected the block for editing and then clicked the “Easy Draw” tab to edit the block. I then deleted the square in the middle that I didn’t like. I’m only going to work with one quarter of the block so I converted the rest of the lines into guides. Next I converted two of the lines in the point to guides.
I then used the “shape” tool to extend the remaining line to the edge of the block while trying to maintain the same angle as the original point. To do this turn off the “snap to grid points on worktable” button. The reason I did this is because I needed the pattern to be compatible to foundation piecing.
Next I connected the nodes with a line to create the other side of the point. I also added a diagonal line across the points where the square used to be. I then used the “shape” tool to stretch one of the lines on the point heading towards the center. This was also done to facilitate foundation piecing.


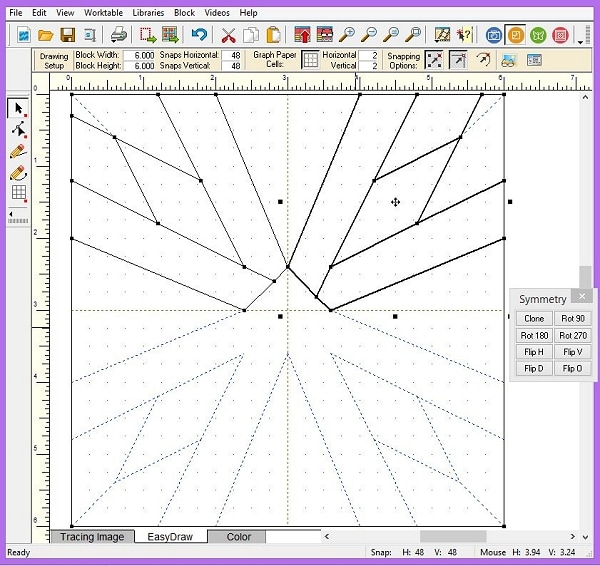
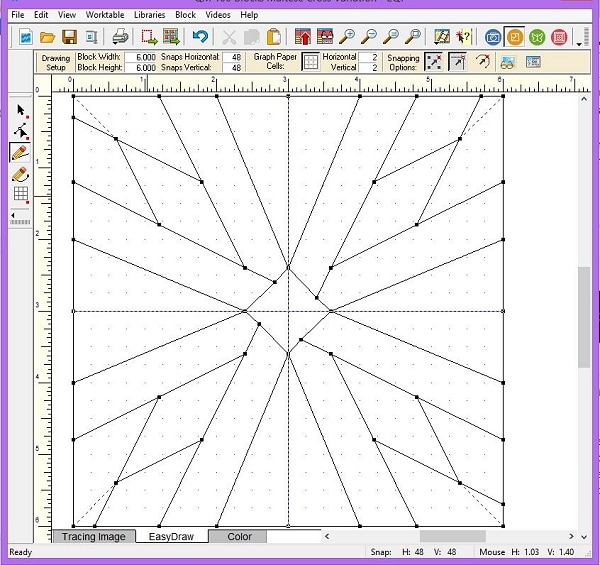
Now it was time to complete the block. I clicked “select all’ and opened up the “Symmetry box”. Next I clicked “Clone” and rotated the selection 90 degrees. I then carefully placed the selection so that it connected with the previous image at the node.
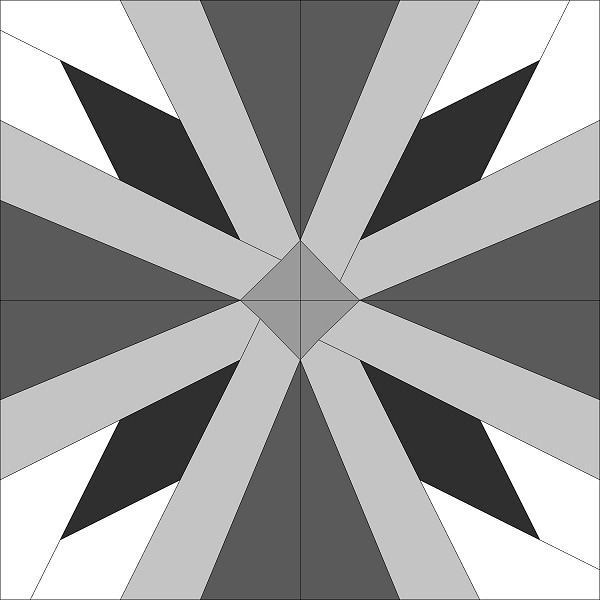
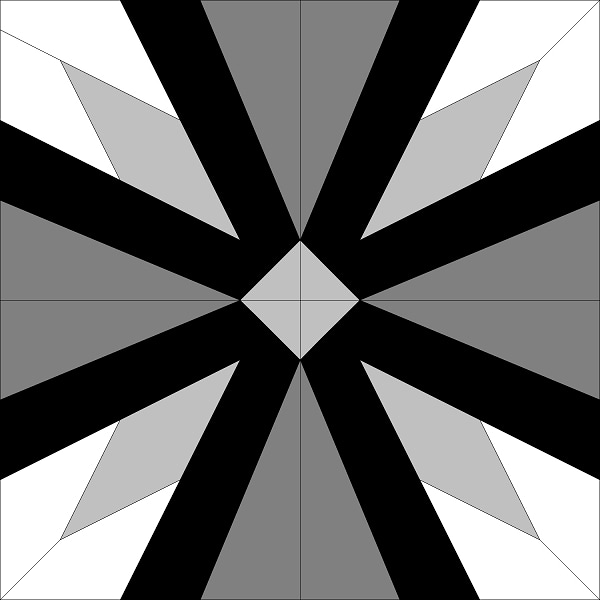
Then I zoomed in to center of the block so that I could make sure that the two images had indeed connected at the node. I repeated this step two more times to fill the remaining two quadrants. To complete the block add a horizontal and vertical line to delineate the four quarters. Then I colored the block. I started with a value placement similar to the original block.
Then I zoomed in to center of the block so that I could make sure that the two images had indeed connected at the node. I repeated this step two more times to fill the remaining two quadrants. To complete the block add a horizontal and vertical line to delineate the four quarters. Then I colored the block. I started with a value placement similar to the original block.

Next I played around with the placement of values. I tried out a few variations before making my final choice.
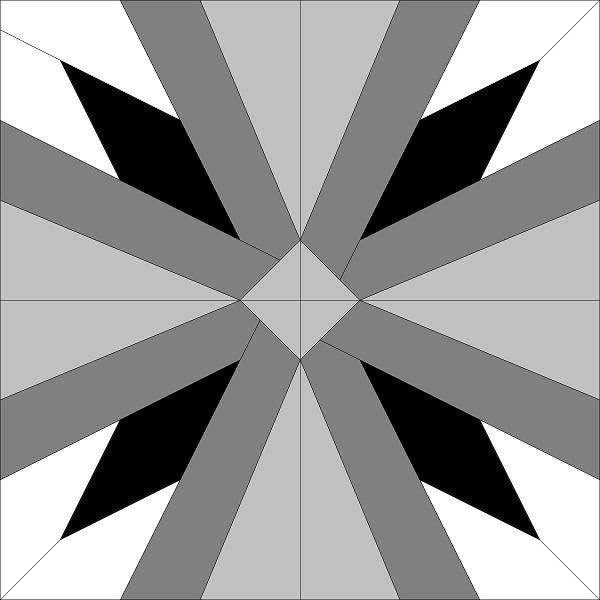


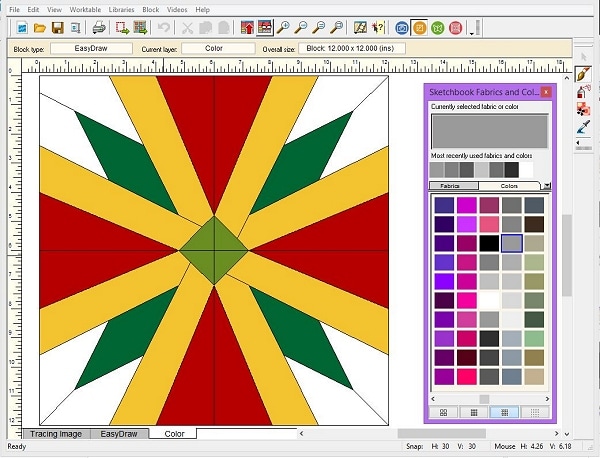
Now that I had made my final decision about value placement it was time to pick out colors.

After I was done I started to realize that my block looked like an Iron cross. I decided to look up the Iron cross on Wikipedia to find out more about the symbol. While reading about its origins I came across a statement that said “It was ultimately derived from the cross pattée occasionally used by the Teutonic Order from the 13th century.” Well what the heck is a “cross pattee” I said to myself? Of course being the history geek that I am, I had to look up “cross pattee” and find out more about this symbol. It was pretty interesting so I’ll attach links for both web pages to the images of the crosses below.
As I was trying to think of a name for my block decided against using the name “Iron Cross” because it has negative connotations. As for calling the block “cross pattee” I wasn’t too keen with the idea either. If a history geek like me had never encountered the word before I didn’t think it would resonate with folks. So I went out on a limb and named it Maltese cross variation even though it doesn’t look exactly like a Maltese cross. My block is a bit of a mix between the two. Just like the cross pattee, on my block, the ends of the four cross points are flat. Yet instead of the sides of the cross points being concave, the sides on my block are straight, just like a Maltese cross.
As I was trying to think of a name for my block decided against using the name “Iron Cross” because it has negative connotations. As for calling the block “cross pattee” I wasn’t too keen with the idea either. If a history geek like me had never encountered the word before I didn’t think it would resonate with folks. So I went out on a limb and named it Maltese cross variation even though it doesn’t look exactly like a Maltese cross. My block is a bit of a mix between the two. Just like the cross pattee, on my block, the ends of the four cross points are flat. Yet instead of the sides of the cross points being concave, the sides on my block are straight, just like a Maltese cross.


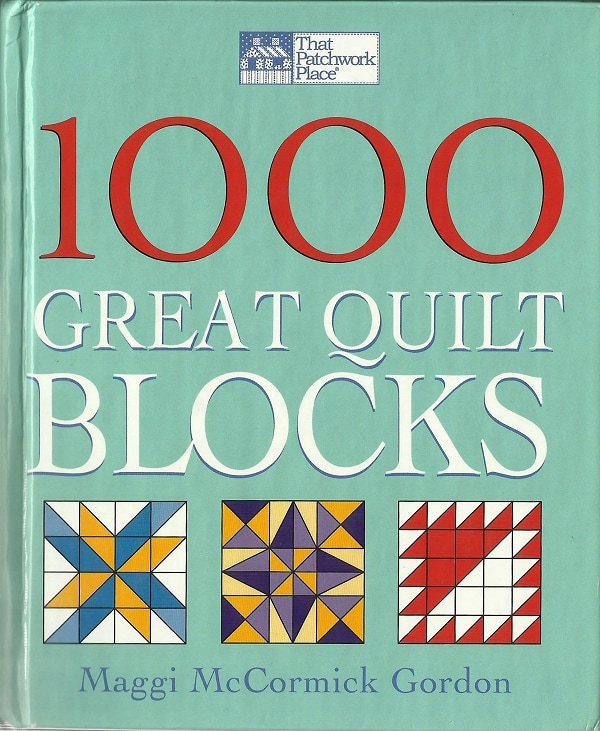
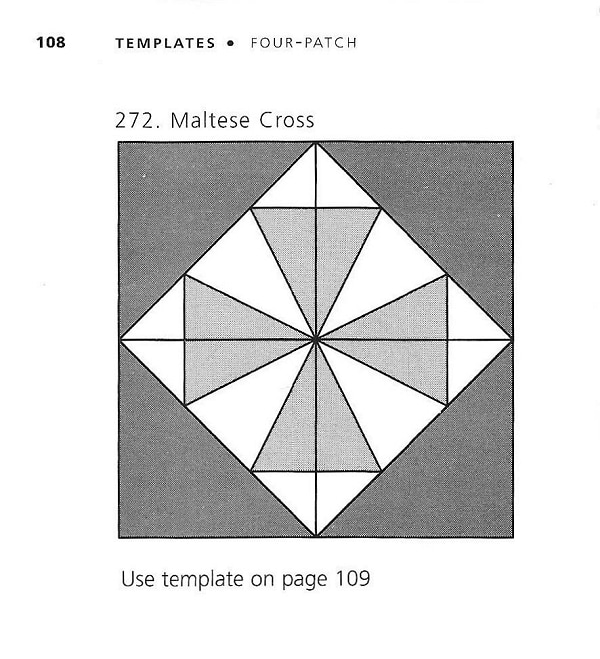
I have a couple of books that are great resources for quilt block information and ideas; 1000 Great Quilt Blocks by Maggi McCormack Gordon and the Encyclopedia of Pieced Quilt Patterns by Barbara Brackman. The poinsettia block I started with came from the Brackman book. EQ used this book as a reference for their Block Base software. In the 1000 Great Quilt blocks book my block resembles their idea of a Maltese cross. It seems that my interpretation isn’t that far off.


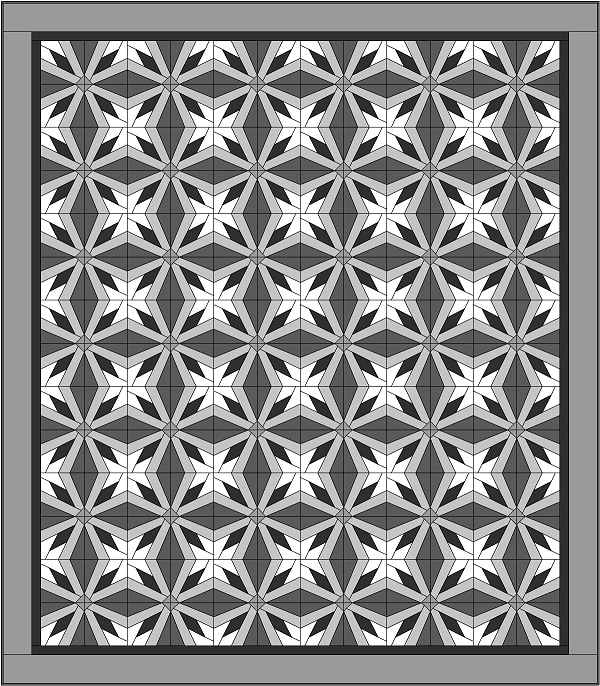
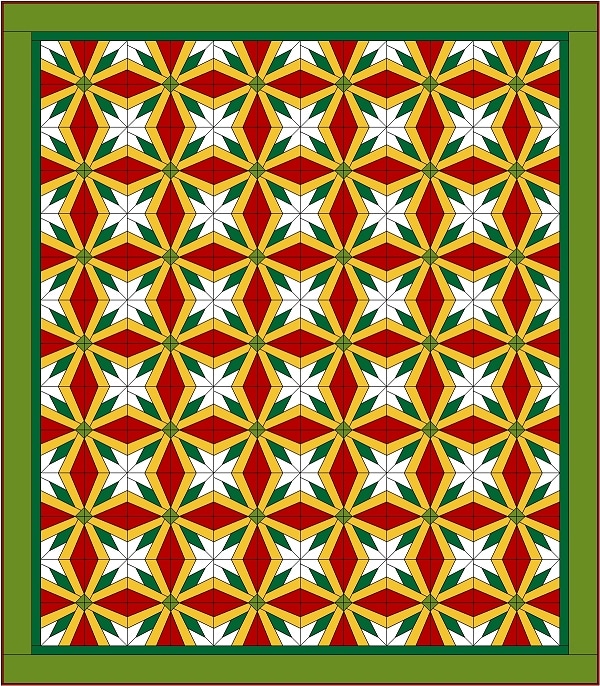
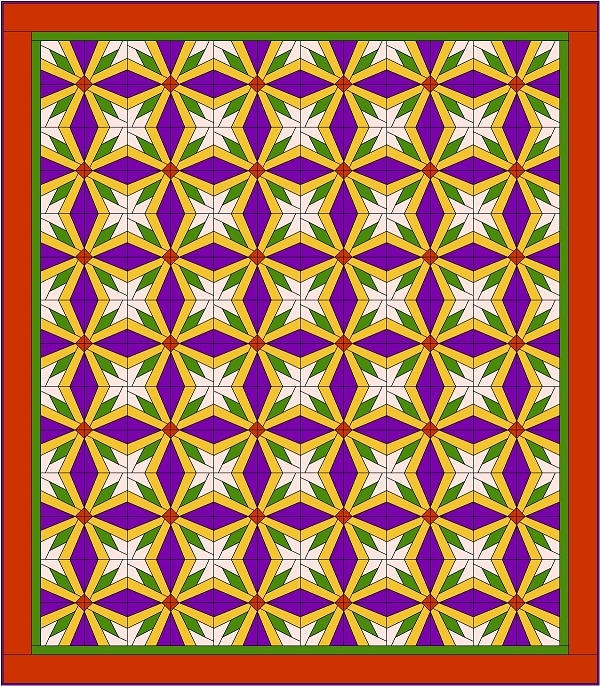
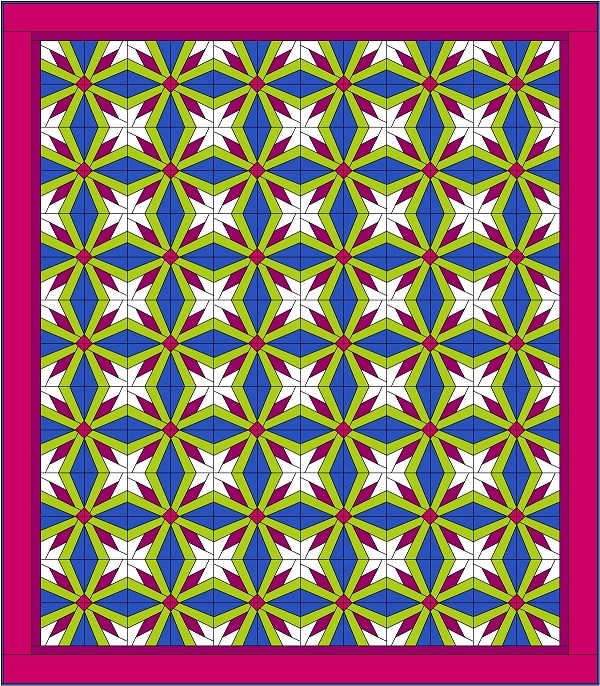
Getting back to the quilt block I want to show you a layout in a queen size with four different color variations. I used a 12” block, in a 6 block x 7 block layout, with a 1.25” inner border and 4” outer border. It finishes at 82.5” x 94.5”.

Well, I hope you found this blog interesting. For one chance to win a copy of Quiltmakers 100 Block Challenge Volume 15, please leave me a comment below. Let me know what you like to read about and or what you think of my post. I always try to respond to comments but there are so many during the blog tour that I don’t always accomplish my goal. So please forgive me in advance.
For a second chance to win a copy of this issue you can sign up for my emails and/or visit my Facebook page and click like. I really appreciate your support. I promise that the email list is my use only. I send out emails when I have something exciting to share with you, like a new blog post or a free pattern. This promotion will run until midnight on Monday, May 8, then I will pick two names at random. Thank you for visiting!
Happy Quilting, Janice

 RSS Feed