Here is the next offering for my special give away, Free Pattern Friday. Once a month, on a Friday, I will make a pattern available as a free PDF download. The pattern will be available until I post the next one. Then it's gone! So make sure you download your copy today.
You may also want to sign up for my mailing list. That way you’ll never miss an update to my blog. I promise never to sell your name to anyone. I will only ever use it to let you know about what’s going on at my website.
I’ve been a fan of CMB and her Flower Fairies since I first learned about them back in the eighties. I have acquired a few collectibles featuring her fairies over the years. At some point I started to come across CMB Flower Fairies printed on quilting cotton. These were repeated prints of various motifs and scales. The Flower Fairy fabrics are printed by Michael Miller Fabrics and have a lovely coordinating blender group known as Fairy Frost. Click here to see their collections.
I also noticed the Flower Fairy panels that were being sold in my local quilt shops. I’ve been tempted to buy one but I didn’t want to deal with the challenge of finding a good design layout for using the panel. The patterns available that I had seen for using panels didn’t appeal to me for one reason or another. I can’t explain it, they just didn’t do it for me. So I knew that I would have to come up with my own design if I bought a panel, therefore I never bought one.
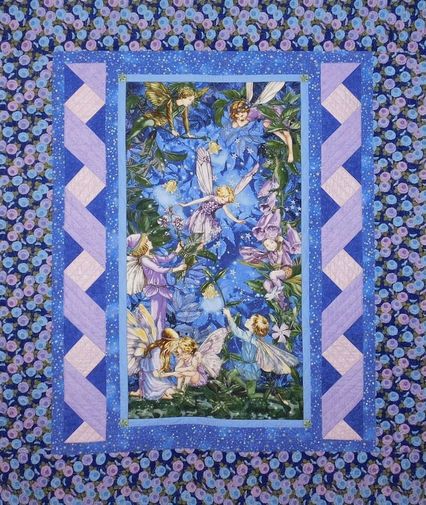
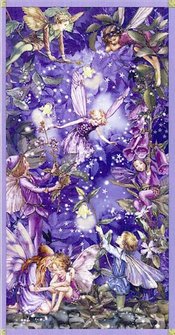
Then one day I came upon the Night Fairies. Oh be still my heart, I loved the colors and had to have it! So now I was the proud owner of a panel and had to find a nice simple yet effective design for this panel. I didn’t want to get too crazy with the extra components. So I decided to add a column of small blocks to the sides of the panel to give a bit more width.
Let me break that down for you. I knew I wanted a small sized block for the block border that I planned to place alongside the panel. I decided to use a 5” block for the border assembly. If I divide 42 by 5, the sum is 8 with a remainder of 2. Now I needed to round up to the next whole number and make it 45. When I divide 45 by 5 I get 9. So that means I will need nine blocks at 5” square for both block borders. Since there are two block borders I need a total of 18 blocks.
The coping border strips that I would add to the top & bottom of the panel would increase the length to match the 45” measurement I came up with. There is more information and an explanation of this calculation in the pattern.
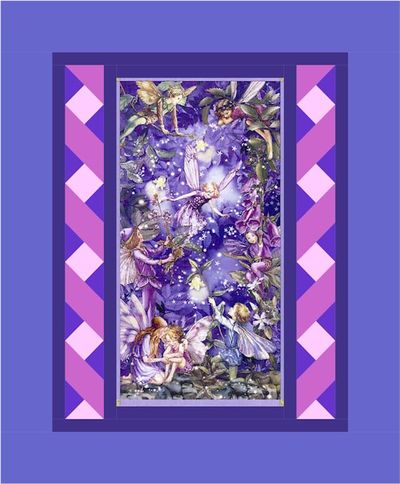
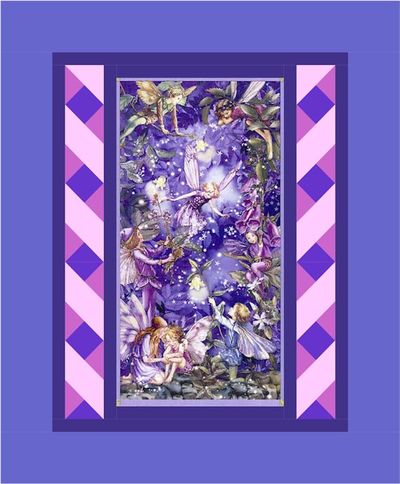
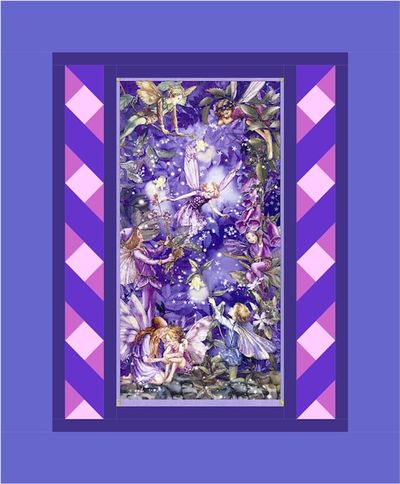
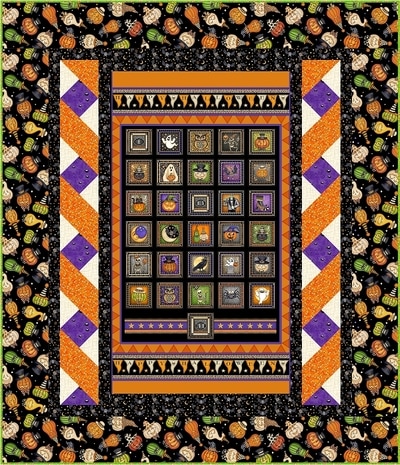
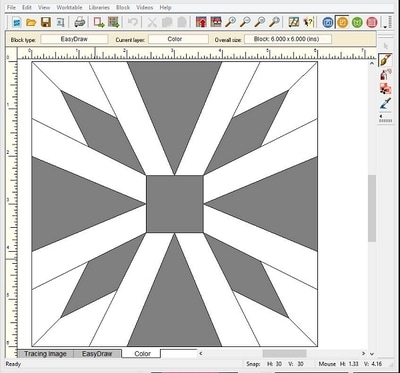
You can use any block you want but I decided that since I was dealing with frolicking fairies, I wanted a ribbon border. I almost sure that the frolicking fairies were asking for a ribbon border and I was able to hear them. A mock ribbon border is created when you join what I call “envelope” blocks together as shown below. As you can see every other block is rotated 180 degrees so that the small light valued triangles meet.
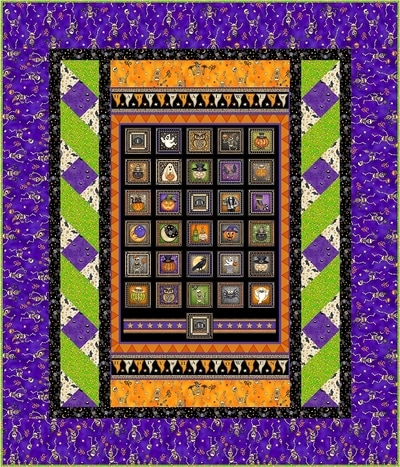
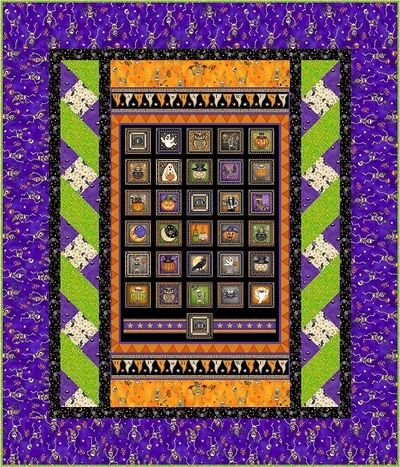
If you try to make the ribbon from the light & dark values and place it on the medium background they fight with each other and you lose the visual illusion of a ribbon. Check out these examples below. They’re not horrible but I think the other examples above look better.
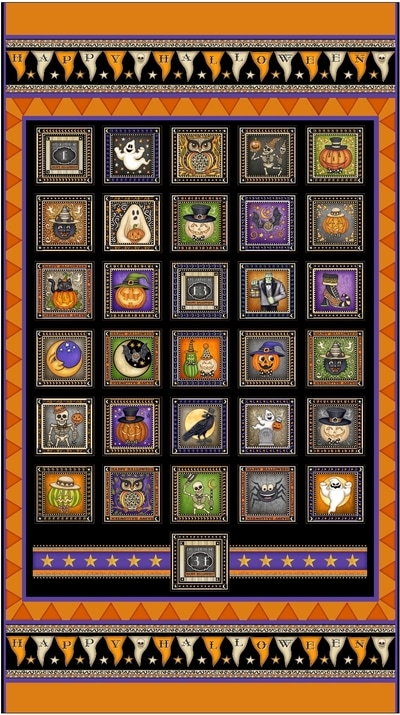
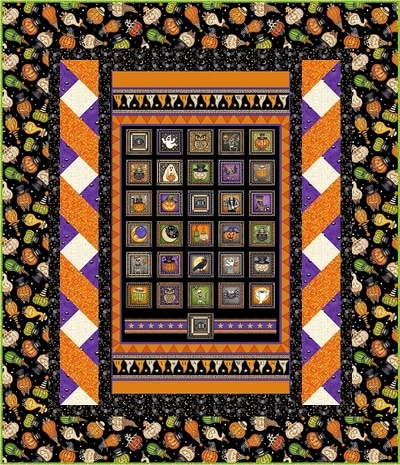
The panel for this collection does continue from one selvedge edge to the other but the main parts of the design fill a smaller area than the fairy panel. Therefore it looks as if another fabric had been added to the panel along with the panel coping borders to give it the right length. I think it looks really cute! If you like it too and are looking for Creepy Hollow fabric here is a link to Google shopping for the collection.
The coping strips in these two examples are occupied by dancing skeletons on an orange background. In both of these the coping border is cut very wide to compensate for the lack of length in the panel design. Once again I’m showing two examples that demonstrate both ribbon border value placements. First the dark & medium values together and then the light & medium values together.
This pattern is available from download from my ETSY Shop. Click here to purchase this pattern.
I hope you have a happy day full of quilting! Namaste my quilting friend, Janice








 RSS Feed

